on large boards over 4x6 see Shadowing also see Camera Ready Grid Lines
![]()

860-632-2026
860-632-2028 Fax
ahutton@ahutton.com
Dye Sublimation is a wonderful process but has one inherent limitation which is dimensional consistency and image placement. This is not a problem if addressed in layout design. If an absolute and tight consistency of size and location are needed screen printing may be a better process.
Where do our dimensional and placement variations come from......
1. Dye sub requires the hand placement of the transfer sheet onto the substrate. Pretty accurate but not perfect.
2. There are dimensional changes in the substrate with the heat of the dye sub process
3. The paper transfer sheets will change size with humidity and temperature and ink content even thought we try to keep environmental variable consistent.
4. The larger the size the more pronounced the
problem and the more noticable.
1. Do not order two big boards that butt together and expect lines to be a dead on match.
2. Bleed we can do full bleed no problem but make sure a border is 1/4" or more so that it visually looks even when slightly off. Its even best on large boards not to have a border at all, due to blowouts.
3. Do not place Full border lines or boxes near edge. Try to keep lines over 1/4" away from edges. -- If you put a 3 pt box along perimeiter that is 1/8" from the edge of board it probably will not even print on one or two sides!
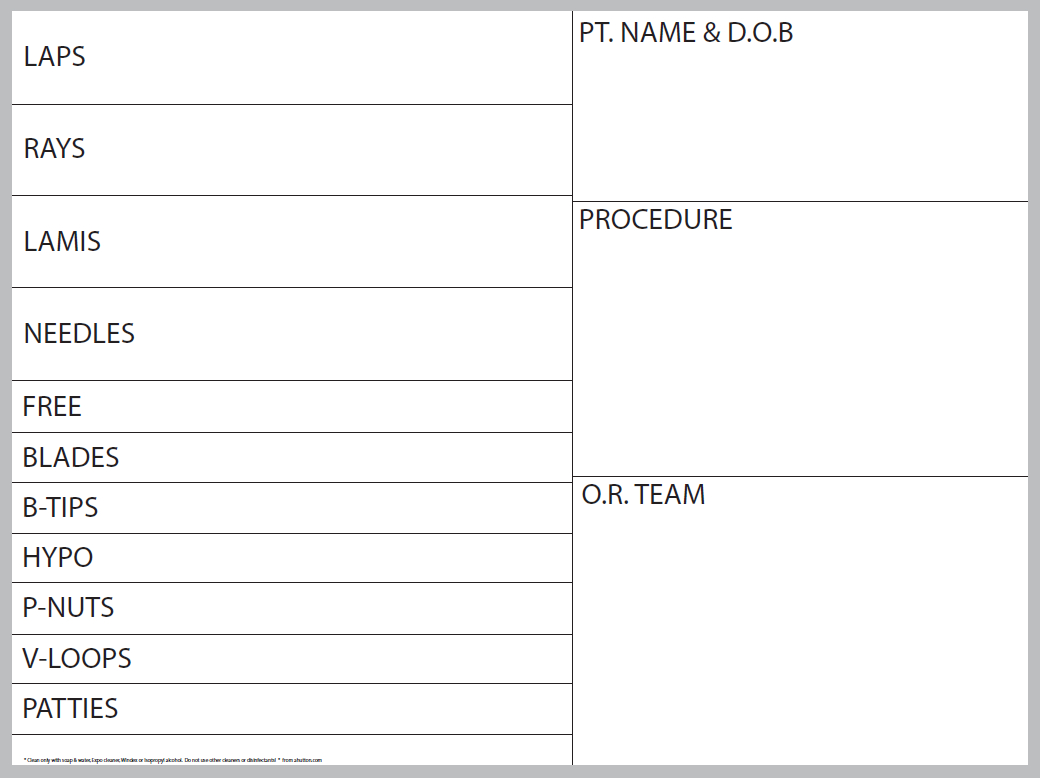
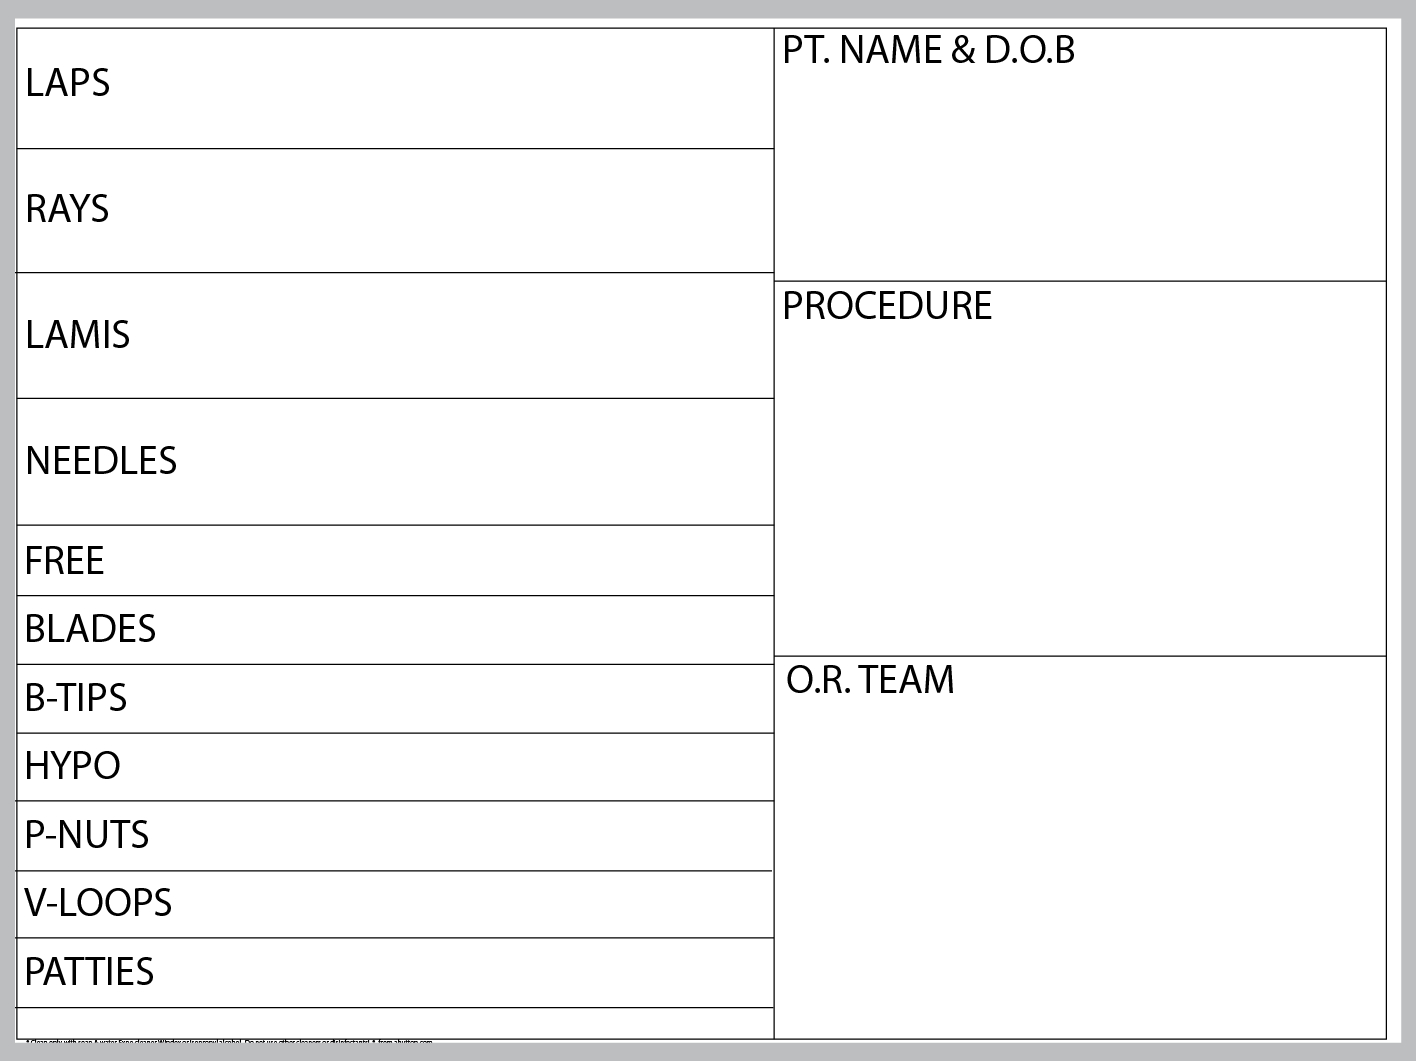
4. When doing a planning board that is basically a grid do not put a box in the board but rather have the lines continue under the frame!
2/8/2012